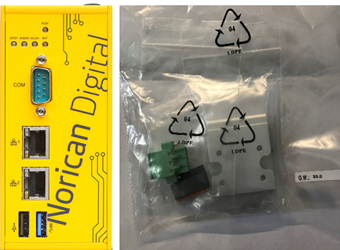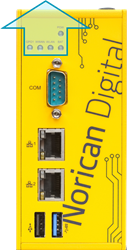

NoriGate parts:
The NoriGate has an extensive pre-installed interface library, all common PLCs, individual sensors or OPC-UA networks can be Plug & Play connected via a LAN cable.
| Pos. | Description | Quantity |
| Parts | ||
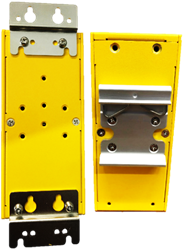
| 1a | NoriGate S+ Wall bracket | 1 |
| 1b | DIN Rails Adapter | 1 |
| 1c | Screw - 2,5 mm diameter | 4 |
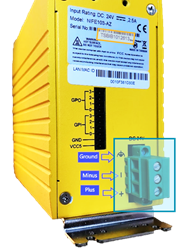
| 1d | Three-pole pin-connector | 1 |